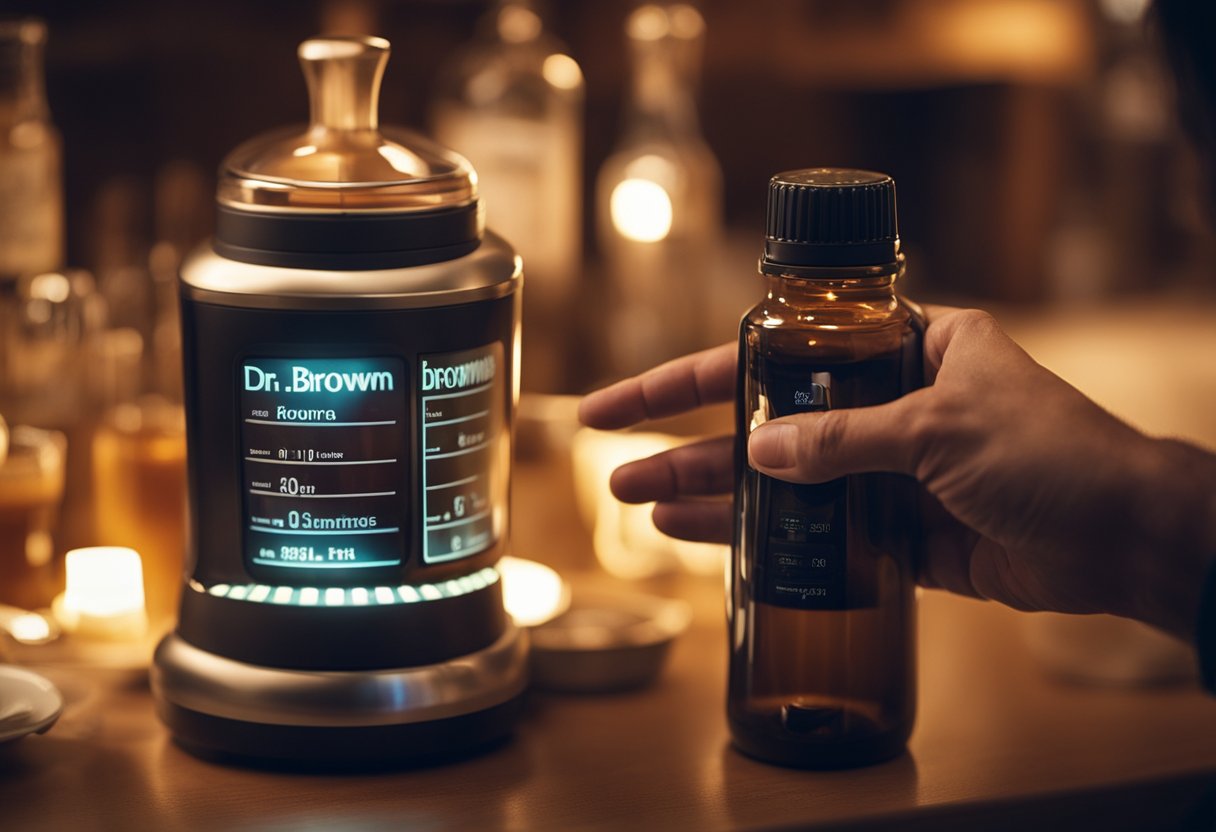
Dr Brown’s Bottle Warmer
Dr. Brown’s bottle warmer is a popular product. It helps parents warm up their baby’s milk or formula. Many parents find it to be an essential item in their baby gear arsenal. It can save time and make feeding their little ones much easier. Using the bottle warmer can be confusing for first-time users. It’s important to follow the instructions to ensure that the product works.

To begin using Dr. Brown’s bottle warmer, parents need to fill the warming chamber with water and plug it in. The warmer has a simple control panel with an on/off switch and a timer. You can set the timer depending on the size and temperature of the bottle. It’s important to note that the bottle warmer is designed to work specifically with Dr. Brown’s bottles. Yet, it can also be used with other brands of bottles.
It’s crucial to follow the instructions. This ensures the bottle warmer works and doesn’t damage the bottle or milk. Parents should also clean the bottle warmer. This prevents mineral deposits and bacterial buildup. Dr. Brown’s bottle warmer is a useful tool for parents who want a quick and easy way to warm up their baby’s milk or formula. They must follow the instructions.
Getting Started with Your Dr. Brown’s Bottle Warmer
Product Overview
Dr. Brown’s Bottle Warmer is a convenient and easy-to-use appliance that helps parents warm their baby’s milk or food. The product is designed to fit most standard-sized bottles and jars. It includes an adjustable basket that can hold various bottle sizes.
The bottle warmer comes with a user manual. It also has an easy-to-read control panel. Parents can use it to adjust the temperature and heating time. The device also has an automatic shut-off feature that turns off the warmer once the heating cycle is complete.
Safety Precautions
Before using Dr. Brown’s Bottle Warmer, it is important to read and follow the safety instructions outlined in the user manual. Here are a few safety precautions to keep in mind:
- Do not leave the bottle warmer unattended while in use.
- Keep the bottle warmer out of reach of children.
- Do not use the bottle warmer with bottles or jars that are made of materials other than glass or plastic.
- Do not use the bottle warmer with bottles or jars that are cracked or damaged.
- Do not use the bottle warmer with bottles or jars that have been previously frozen.
By following these safety precautions, parents can ensure that their baby’s milk or food is warmed safely and efficiently using Dr. Brown’s Bottle Warmer.
Operating Instructions
Dr Brown’s bottle warmer is a convenient way to warm up baby bottles. Here are the steps to follow to operate the device:
Filling the Water Chamber
First, fill the water chamber with the recommended amount of water. The water level should be between the minimum and maximum marks on the side of the chamber. Use room-temperature water to ensure that the bottle is warmed evenly.
Placing the Bottle
Next, place the bottle in the warming chamber. Make sure that the bottle is centered in the chamber and that the nipple is facing down. The warming chamber can accommodate most standard-sized bottles.
Setting the Timer
After placing the bottle in the chamber, set the timer according to the instructions. The recommended warming time varies depending on the size and temperature of the bottle, so make sure to refer to the instructions for the correct time.
Removing the Bottle Safely
Once the timer goes off, remove the bottle from the warming chamber. Use caution, as the bottle may be hot. Always test the temperature of the milk before feeding it to the baby.
Parents can warm their baby’s bottles with Dr. Brown’s bottle warmer. They can do this by following these simple steps.
Maintenance and Troubleshooting
Cleaning the Device
Regularly cleaning Dr. Brown’s bottle warmer is essential. It maintains its performance and prolongs its lifespan. It is recommended to clean the device after every use to prevent the buildup of milk residue and bacteria. To clean the device, follow these steps:
- Unplug the device and let it cool down completely before cleaning.
- Remove the water chamber and pour out any remaining water.
- Clean the water chamber and the warming chamber with warm, soapy water and a soft cloth.
- Rinse the chambers thoroughly with clean water, and dry them with a soft cloth.
- Wipe the exterior of the device with a damp cloth, and dry it with a soft cloth.
Descale the Water Chamber
Over time, mineral deposits may accumulate in the water chamber, which can affect the performance of the device. To describe the water chamber, follow these steps:
- Fill the water chamber with equal parts of white vinegar and water.
- Let the solution sit in the chamber for 30 minutes.
- Empty the chamber and rinse it thoroughly with clean water.
- Fill the chamber with clean water and run the device for a complete cycle to remove any remaining vinegar residue.
Troubleshooting Common Issues
If the device is not functioning properly, there are a few common issues that may be the cause. Here are some troubleshooting tips:
- If the device is not warming the bottle, make sure the water chamber is filled with water and the bottle is properly positioned in the warming chamber.
- If the device is overheating, make sure the water chamber is not overfilled and the device is not being used for an extended period.
- If the device is making strange noises, make sure the warming chamber and water chamber are both clean and free of any debris or residue.
By following these maintenance and troubleshooting tips, users can ensure the optimal performance of their Dr. Brown’s bottle warmer and enjoy warm bottles of milk for their little ones.

Hello! I’m Gobinda, the founder of this website. I’m a father to my growing child. I love the world of babies, so I started a blog about it. I want to share my fascination and help other parents.


